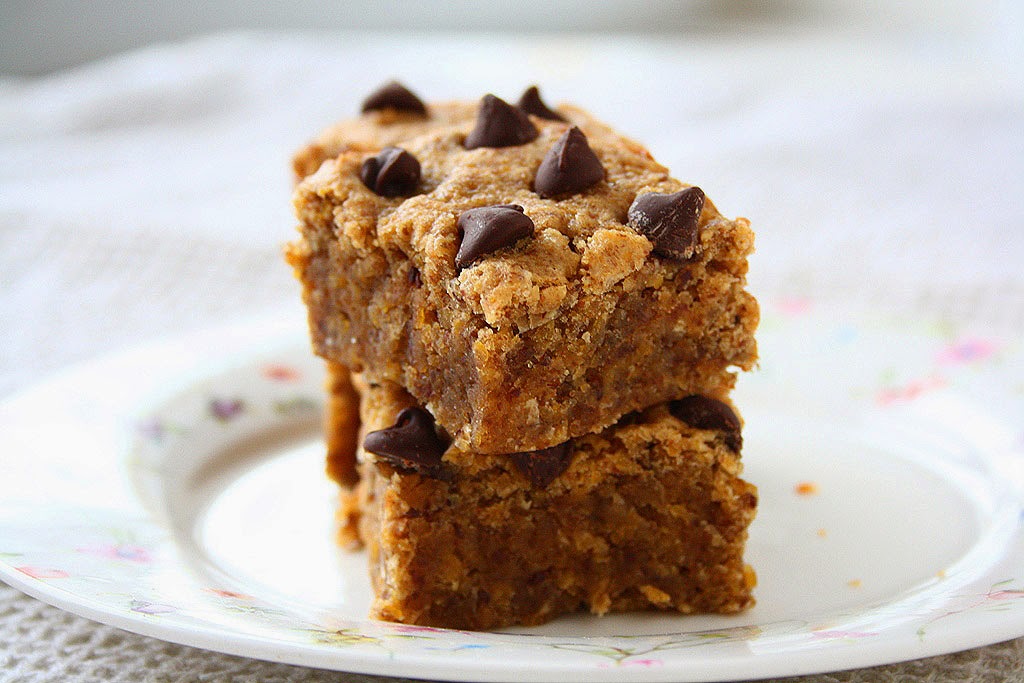
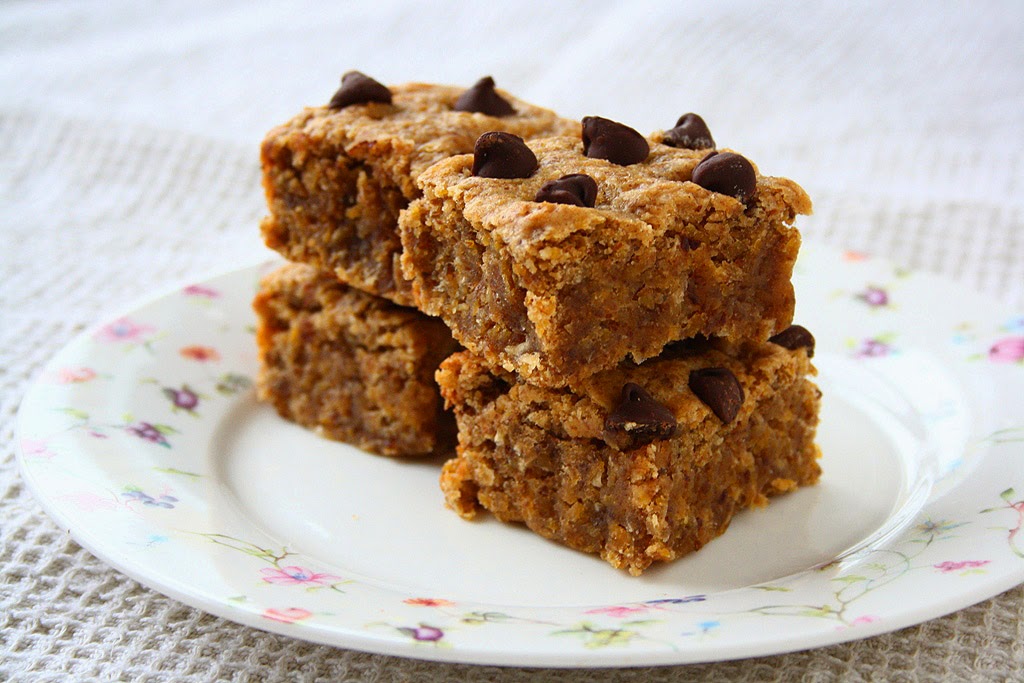
Chickpea Blondies
210g* cooked chickpeas, drained
85g (1/3 cup) homemade peanut butter
1/2 tsp salt
100g (1/2 cup) unrefined light brown sugar
30g (2 tbsp) applesauce
28g (1/4 cup) ground flaxseed
1/2 tsp baking powder
1/4 tsp baking soda
1 tsp vanilla extract
Chocolate chips
*I cooked 100 grams of dried chickpeas and got 210 grams cooked. 100g dried should equal 240g cooked, but, well, hm, not for me, I guess. It's not that bad if you add 30 grams more or less though. If you are lazy, feel free to use 1 can of chickpeas.
1) Preheat oven to 180C / 350F. Lightly grease a loaf pan or use a silicone loaf pan (which I prefer).
2) In your food processor, add chickpeas and pulse until smooth. Add peanut butter, salt, brown sugar, applesauce, ground flaxseed and pulse again until well combined. Scrape down the sides. Add baking powder and baking soda and pulse again until combined.
3) Spread into the baking pan and sprinkle a handful of chocolate chips on top, slightly pressing them down. (You can mix in more chocolate chips if desired. I only sprinkled the top to make these healthier).
4) Bake for 20-25 minutes. Remove from the oven and let cool before cutting into squares.
Recipe by collecting memories
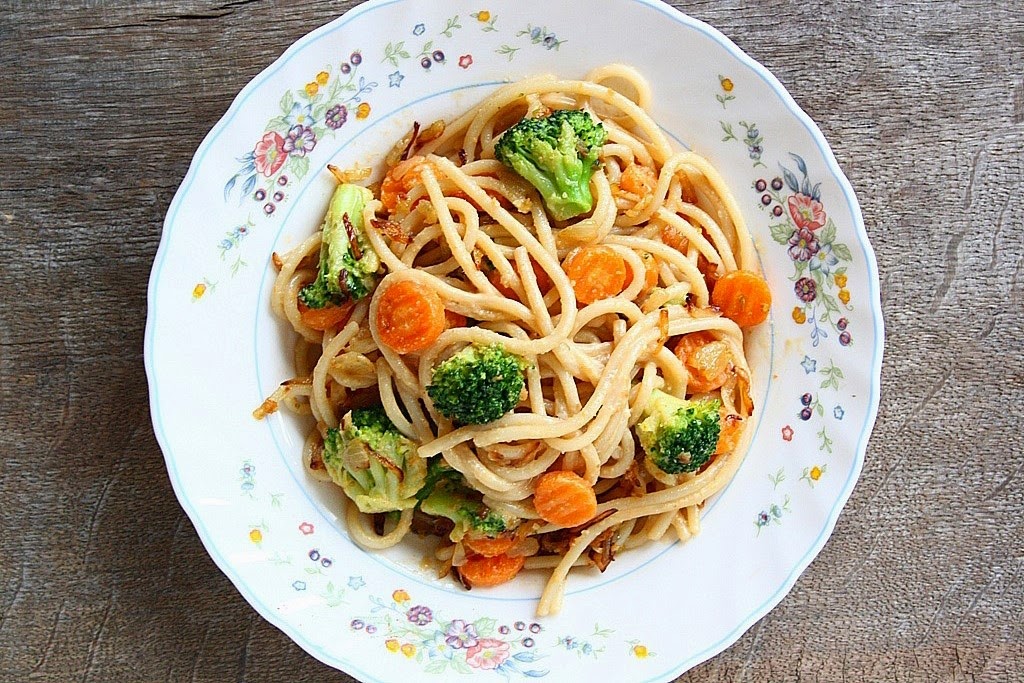
Peanut Noodles with Vegetables
1 tbsp oil
1 small onion, chopped
1 clove garlic, minced
1/4 tsp ground ginger
1/4 tsp salt
150g (5.3oz) frozen mixed vegetables, cooked and drained
65g (2.3oz) noodles
1 tbsp (16g) salted peanut butter
1 tbsp water
1 tbsp Teriyaki sauce
1) First, make the peanut sauce. In a small bowl, mix together peanut butter, Teriyaki sauce and water. Set aside.
2) Cook noodles according to directions. Drain and set aside.
3) Heat oil in a pan and add onions and garlic. Cook until soft and lightly browned. Add ginger, salt and vegetables. Stir-fry for a few minutes. Add noodles and peanut sauce and continue stir-frying for another 1-2 minutes. Serve immediately.
Serves 1
Recipe by collecting memories
Peanut Butter Garlic Noodles
140g (5oz) rice noodles
2 tbsp (32g) peanut butter
1 tbsp (15ml) Teriyaki sauce
1 clove garlic, minced
1/4 tsp salt
1 tbsp water
1) In a small bowl, mix together peanut butter, Teriyaki sauce, water, garlic and salt. Set aside.
2) Cook noodles according to directions. Drain well.
3) Mix noodles with peanut sauce and sprinkle some chopped roasted peanuts on top. Serve immediately.
Makes 2 small servings
Recipe by collecting memories
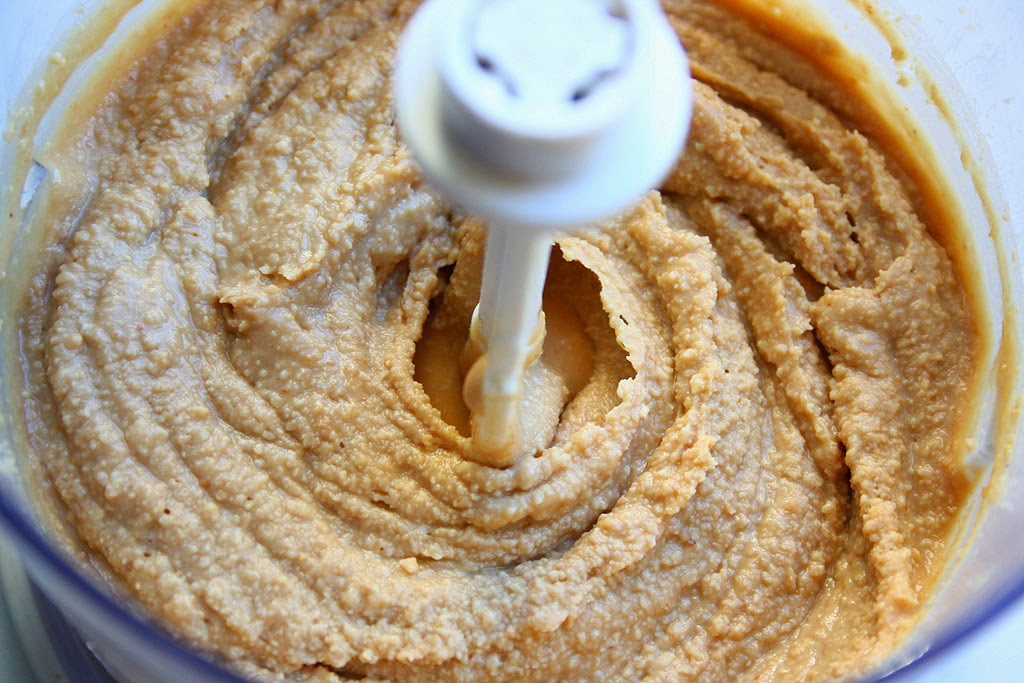
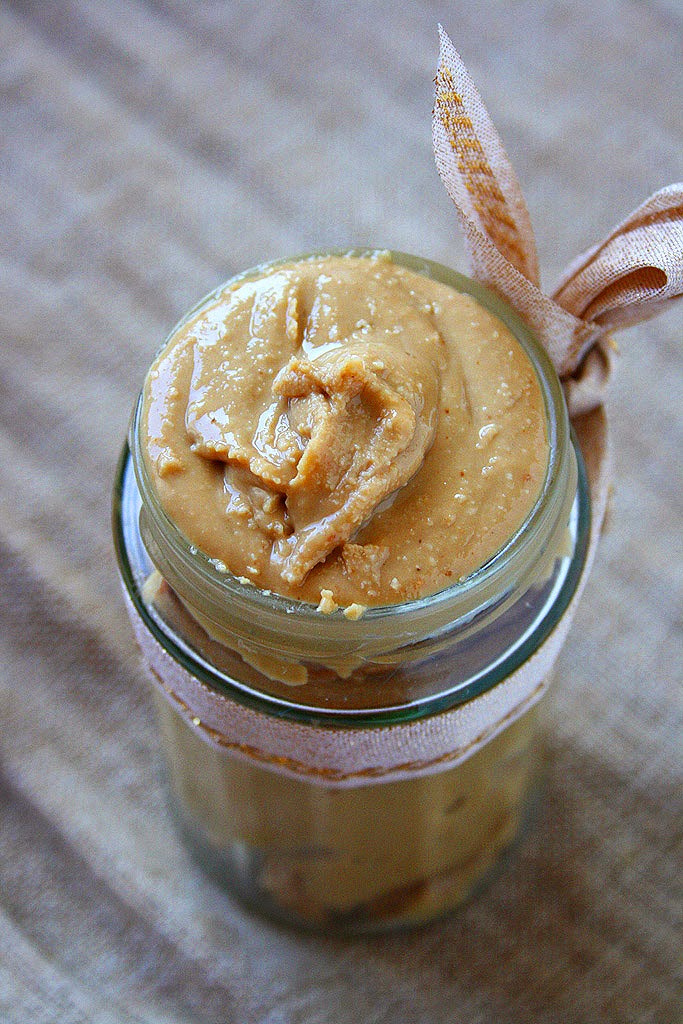
Homemade Peanut Butter
1 cup (250g) shelled peanuts
1/2 tsp salt
1) Place peanuts in a pan and set over high heat. After a few minutes, they should start browning. Once they do, shake the pan every 20-30 seconds so they don't burn. You may need to reduce the heat a little bit. Once browned, remove from heat and let cool.
2) Place them in a food processor and pulse the peanuts until ground. You can add the salt at this point.
3) Process until they start looking gritty and scrape down the sides. Keep processing and you will see how they start turning into glossy butter. Add some honey/maple syrup/agave nectar or any other sweetener, if desired.
4) Transfer to a jar and refrigerate.
Recipe by collecting memories
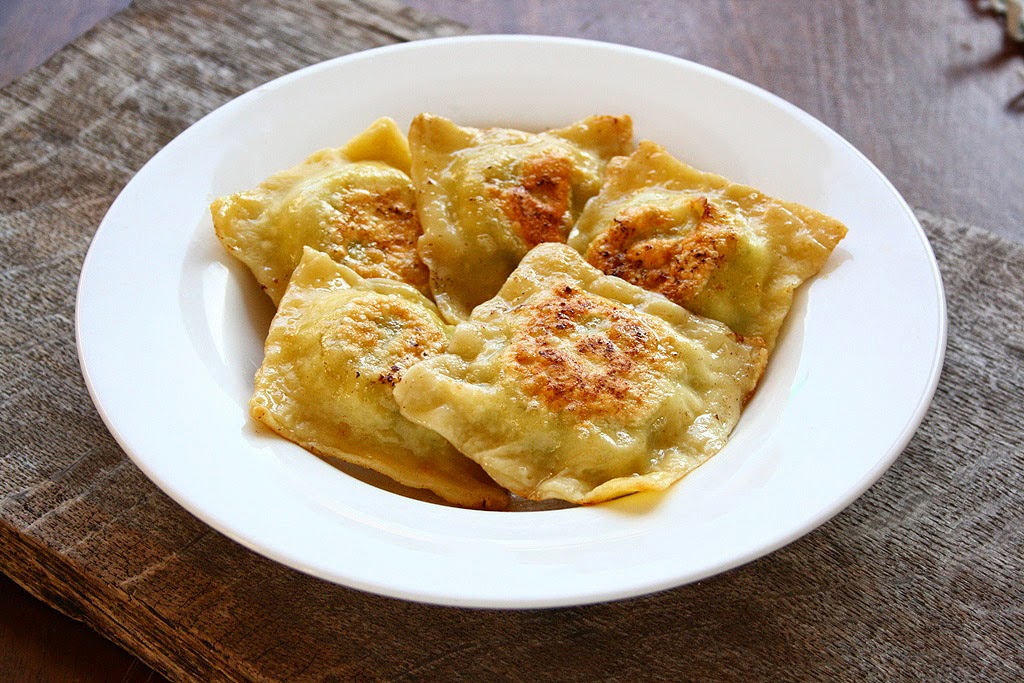
Goat Cheese Potato Ravioli with Garlic and Dill
Dough:
187g (1 1/2 cup) flour
2 large eggs
1/2 tsp salt
Filling:
340g (12 oz) potatoes
15g (0.5 oz) fresh dill, chopped
3 cloves garlic, minced
115g goat cheese
3/4 tsp salt
1) To prepare the dough, place flour and salt into a large bowl. Crack in the eggs and mix with a fork. When it starts coming into a ball, continue kneading with your hands. It should be smooth, soft but not sticky. Wrap into plastic wrap and refrigerate for about an hour.
2) To make the filling, peel the potatoes and boil them in a lightly salted water. Let cool completely and mash with a fork. Mix in the dill, garlic, goat cheese and salt. Set aside.
3) Roll out the dough into about a 2-3 mm (1/8 inch) thick rectangle on a lightly floured surface. Cut into 7-8cm (3 inch) squares (I got 18 large ravioli).
4) Take about one tablespoon of the filling and roll into a ball. Flatten a little bit and place on a square. Top with another square and seal the edges using your fingertips. Repeat it with the remaining dough and filling.
5) Bring a large pot to boil. Add a pinch of salt. Add a few ravioli into the boiling water and cook for 6-8 minutes or until soft. Drain.
6) To make fried ravioli, heat some butter in a large skillet. Fry each ravioli on both sides until brown and crispy. Serve plain or with some sour cream.
Recipe by collecting memories
These chocolate crinkle cookies are one of my favorite holiday cookies. Their texture is very similar to brownies. They're chewy, fudgy and deeply chocolatey on the inside and crispy on the outside. I found this recipe on allrecipes.com and it looked like a foolproof and delicious recipe. However, I wasn't sure about using oil in cookies. I always use butter but this time I decided to make a change and give it a try. And I was pleasantly surprised! They turned out more than delicious. I made them larger than the recipe indicated and I got less cookies (around 50 instead of 70). And I highly recommend you to do the same. Also, there are a few important steps to follow if you want them to turn out perfectly.
1) use the best quality dark unsweetened cocoa powder.
2) coat them in powdered sugar generously before baking.
3) Refrigerate for AT LEAST 4 hours. Preferably overnight. The longer - the better!
4) DO NOT overbake. If you are making larger cookies like I did, it will take ~2 more minutes to bake. Don't be afraid to take one cookie out of the oven after 10 minutes to test how much time they need to stay in the oven. DO take them out of the oven when their centers look underbaked. When you take out of the oven, they will continue baking for a few minutes and their centers will harden a little bit. You do want chewy cookies, don't you? So don't try to leave the kitchen while they bake. Keep an eye on them!
 Chocolate Crinkle Cookies
120g (1 cup) unsweetened cocoa powder
400g (2 cups) white sugar
120ml (1/2 cup) vegetable oil
4 eggs
2 tsp vanilla extract
250g (2 cups) all purpose flour
2 tsp baking powder
1 tsp salt
~1/2 cup confectioner's sugar (for coating)
1) In a medium bowl, mix together cocoa powder, sugar and oil. Beat in eggs and vanilla. Mix until smooth and shiny.
2) In another bowl, combine together flour, baking powder and salt. Stir into the cocoa mixture with a wooden spoon just until smooth.
3) Cover the dough with plastic wrap and refrigerate for at least 4 hours (I chilled them overnight).
4) Preheat oven to 180C / 350F. Prepare 4 cookie sheets with parchment paper. Roll dough into 1 inch (I rolled them into 2 inch balls. Recommended!) balls. Coat each ball in icing sugar and place onto cookie sheets. Leave some space because they will spread.
5) Bake for 10-12 minutes for smaller cookies, and 12-14 minutes for larger cookies. Let cool for at least 5 minutes before removing from cookie sheets.
Recipe adapted from here.
Christmas time was crazy. I baked tons of cakes, cookies, pies and fudge and it feels like I didn't eat anything normal during this holiday period. After this baking marathon I feel like I need something a little bit healthier. I'm sure some of you have started eating healthier this year (I promise that to myself every year, but my healthy eating never lasts too long). Anyway, I wanted to stay away from sweets this time and cook some "real" food. Yes, this is fried rice and it doesn't sound healthy. But it just doesn't sound healthy because actually it's packed with veggies and traditional white rice is substituted with brown rice. The only bad thing about it is oil (but come on, it's just 1 tablespoon). So if you try to eat healthier, this shouldn't ruin your diet.
Oh and finally, I want to thank you for reading my blog for the past few years. I'm very happy to see your comments every day and I feel even happier when you leave feedbacks on recipes you try. I will continue publishing new recipes and sharing my cooking experiences with you this year and I'll keep growing this tried & tested recipe collection.
Chinese Fried Rice
70g (2.5 ounce) brown rice
1 tbsp olive oil
1 small carrot, julienned
1 medium onion, chopped
3 cloves garlic, minced
1 egg, lightly beaten
A handful of bean sprouts, drained
Pinch salt
1 tbsp Teriyaki sauce
Fresh parsley, for garnish (optional)
1) Cook brown rice and allow to cool.
2) In a skillet, heat olive oil. Add onion and cook until translucent and lightly caramelized. Add garlic and carrot and stir-fry over medium heat until carrot has softened a little bit.
3) Add egg and stir with a wooden spoon, breaking it into small bits as it scrambles. Add bean sprouts, salt and rice. Finally, add Teriyaki sauce and stir-fry for another 1-2 minutes.
4) Serve immediately. Garnish with fresh parsley.
Serves 1
Recipe by collecting memories